Building an Early Access Site with DevCycle's EdgeDB & Directus Flows
When launching a new app, creating an early buzz is crucial. A well-crafted early access program can be the key to this. The challenge? Providing exclusive onboarding content to new users, while also securing their private data and building a foundation for scalability. Enter DevCycle and Directus.

When launching a new app, creating an early buzz is crucial. A well-crafted early access program can be the key to this. The challenge? Providing exclusive onboarding content to new users, while also securing their private data and building a foundation for scalability. This is where Directus and DevCycle come into play, offering a powerful solution.
The Stack
- Directus: Used as a headless CMS for content management and implementing automations via flows for future changes.
- Netlify: Hosts a serverless 11ty landing page, facilitating product updates and user signup through GitHub OAuth.
- DevCycle: Manages feature flags via EdgeDB to control access to exclusive early access content, ensuring targeted user experiences.
The Goal
By following this tutorial, you'll be able to leverage the power of Directus for content management and DevCycle for user access control. This approach not only simplifies the early access process but also sets a solid foundation for future growth and content management in your app.
Directus is a versatile headless CMS with a powerful built-in flows feature, allowing for a wide range of automated workflows and integrations. Thanks to its powerful SDKs and API Directus could easily control user gating, but this would involve storing user data, a requirement that would necessitate comprehensive planning that may be out of scope in the early stages of a project.
By leveraging DevCycle's specialized capabilities for efficient and scalable user access management with minimal data collection, particularly via EdgeDB, we can streamline the process of gating content while keeping Directus's potential for advanced functionality (and user management) via flows accessible for future developments.
Getting Started
To complete this tutorial, you'll need the following:
- A blank document (📓) to store important keys.
- A free account on: DevCycle + Netlify + GitHub
- A new GitHub OAuth application
- Set initial callback url as http://localhost:8888/.netlify/functions/auth-callback (we will change this later)
- Copy your OAuth Client ID & Secret Key to 📓
- A Directus Instance
- If you already have one, copy the URL to 📓
- If you don't already have one, follow the process below 👇
Deploy Directus on Railway 🛤️
- Create a free Railway Account
- Deploy the Directus Railway Template
- Copy the URL to 📓
Important Notes:
- You must use a real email address when setting the admin email (i.e. @test.test will not work)
- Your password will be found in the environment variables
Step 1: Setup Your DevCycle Project
1a. Create a New Project
- Set Name to something like
Early Access Site - Ensure EdgeDB is set to
Enabled - user properties will be saved at edge
1b. Create a New Feature
- Set the Feature Type to
Permission- Set Feature Name to
Early Access - Set Initial Variable Key to
early-accessand type toboolean
- Set Feature Name to
1c. Create a Custom Property
- Navigate to the Development targeting rules
- Rename the first rule called
Internal UserstoEarly Access Users - In the definition section, select the User Email dropdown and click the
Add Propertybutton.- Set Property Key as as
earlyAccess - Set Property Type as
boolean
- Set Property Key as as
- The User Email dropdown should now be showing
earlyAccess
1d. Define Initial Targeting Rules
- Set the Definition to
earlyAccess existsas seen in the screenshot below.

1e. Copy DevCycle SDK Keys
- Navigate to the Code Sample area and set the drop-downs to:
- Environment:
Development - SDK Language:
NodeJS - Javascript - Server - Variable:
early-access
- Environment:
- Click the Key icon (🔑) and copy the Server SDK key to 📓

Step 2. Setup Directus
2a. Create a New Collection
- Set Name to
product_news(all lowercase) - Select the Date Created (i.e.
created_on) checkbox - Create an Input field with the key
title - Create a Text Area field with the key
description

2b. Create a New Content Item in the Collection
- Set title to
Introducing Our Revolutionary New Product! - Set description to:
Experience the future of innovation with our latest product! Designed to seamlessly integrate into your daily life, this groundbreaking solution offers unmatched efficiency and ease of use. With state-of-the-art technology at its core, it addresses all your needs in a way never seen before. Stay tuned for more updates and prepare to be amazed by what's coming!
2c. Set Public API Permissions
- Set Read Access Control Permission for
product_newscollection on the Public API toAll Accessas seen in the screenshot below.

2d. Create a DevCycle to Directus Flow
- Set Name to
Directus to DevCycle - Set Status to
Active - Set Trigger to
Webhook (Triggers on an incoming HTTP request)- Set Method to
POST
- Set Method to
- Create an Operation
Webhook/Request URL (Make a request to a URL)- Set Method to
PATCH - Set URL to
https://sdk-api.devcycle.com/v1/edgedb/{{$trigger.body.user.login}} - Create a new header:
- Set Title to
Authorization - Set Value to
your DevCycle Server SDK from 📓
- Set Title to
- Create another header
- Set Title to
Content-Type - Set Value to
application/json
- Set Title to
- Set the request body to:
- Set Method to
{
  "user_id": "{{$trigger.body.user.login}}",
  "customData":
  {
    "earlyAccess": true
  }
}
- Save the flow then copy the flow Trigger Webhook URL to 📓
Step 3: Setup 11ty on Netlify
3a. Deploy the Serverless 11ty template to Netlify
- Click the Deploy with Netlify button in the template repository README:
- Set the repository name to something memorable like
Early Access Site
- Set the repository name to something memorable like
Companion Repository for this DevCycle and Directus Early Access Site Tutorial
- Input the following information when prompted:
- The content API url for your Directus Instance:
<YOUR_DIRECTUS_SITE_URL>/items/product_news
- The trigger webhook endpoint for your Directus Instance
Trigger Webhook URLfrom 📓
- The content API url for your Directus Instance:
- Your DevCycle Projects Server SDK Key:
Server SDK keyfrom 📓
- Your GitHub 0Auth Application Client ID
OAuth Applicationfrom 📓.
- Your GitHub 0Auth Application Client Secret
OAuth Application Secretfrom 📓
- Wait for your Netlify application to build & deploy (approximately 2 mins).
- Copy your new Netlify application URL to 📓.
- Head back to your GitHub OAuth Application and update the following:
- Homepage URL:
<YOUR_NETLIFY_APP_URL> - Callback URL:
<YOUR_NETLIFY_APP_URL>/.netlify/functions/auth-callback
- Homepage URL:
- Re-deploy your Netlify application.

Step 4: Test the Integration
4a. Attempt to Sign-in to the Members Area
- Navigate to your Early Access Site Landing Page
- Click the Sign in button in the upper right hand corner.
- If you have set things up correctly you should be prompted to authorize your GitHub OAuth Application.
- You should then be redirected to the landing page with a danger notification (see below), which will also occur if you try to View Product News.

4b Signup for Early Access
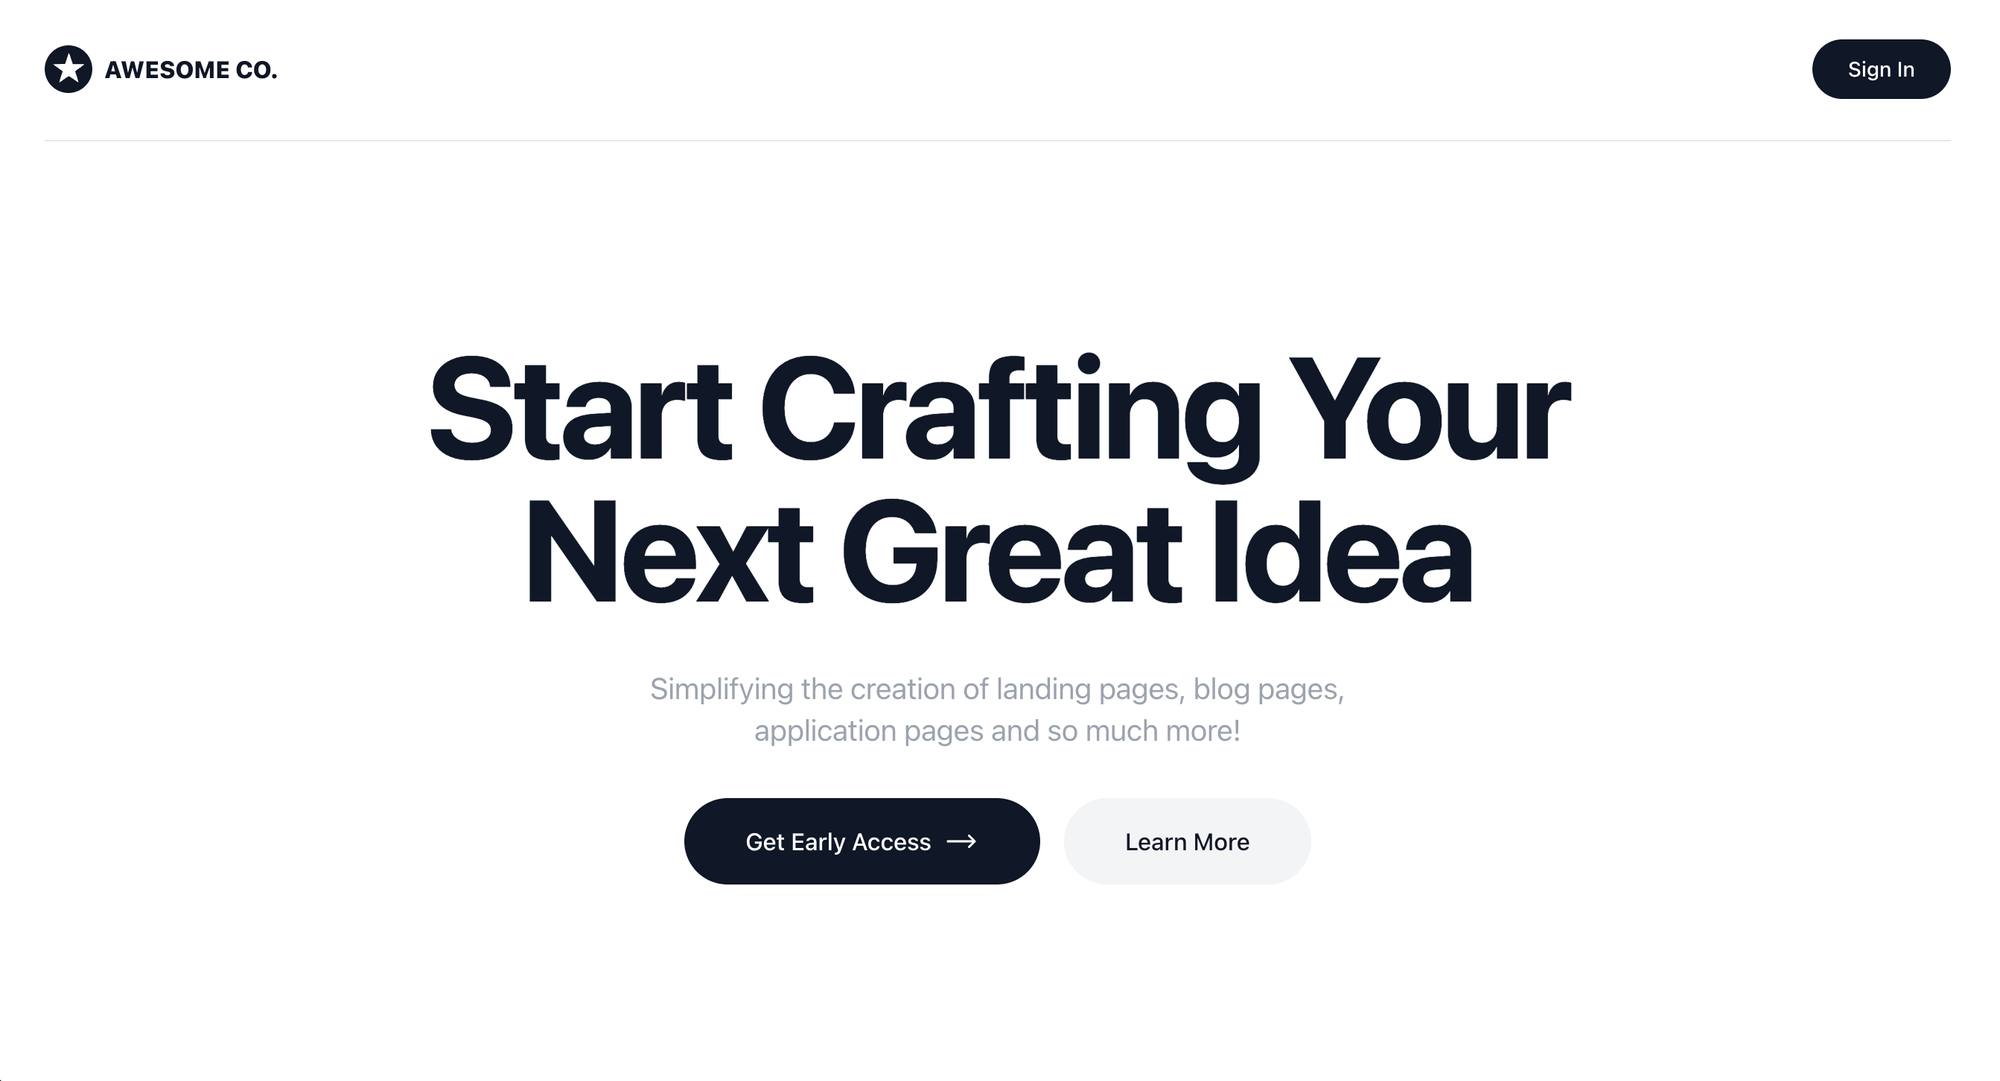
- Click the Get Early Access button in the main banner.
- You should see a success notification on the landing page (see below).

4c. Try to Login to Members Portal Again
- Click on the View Product News button in the top navbar or attempt to visit the
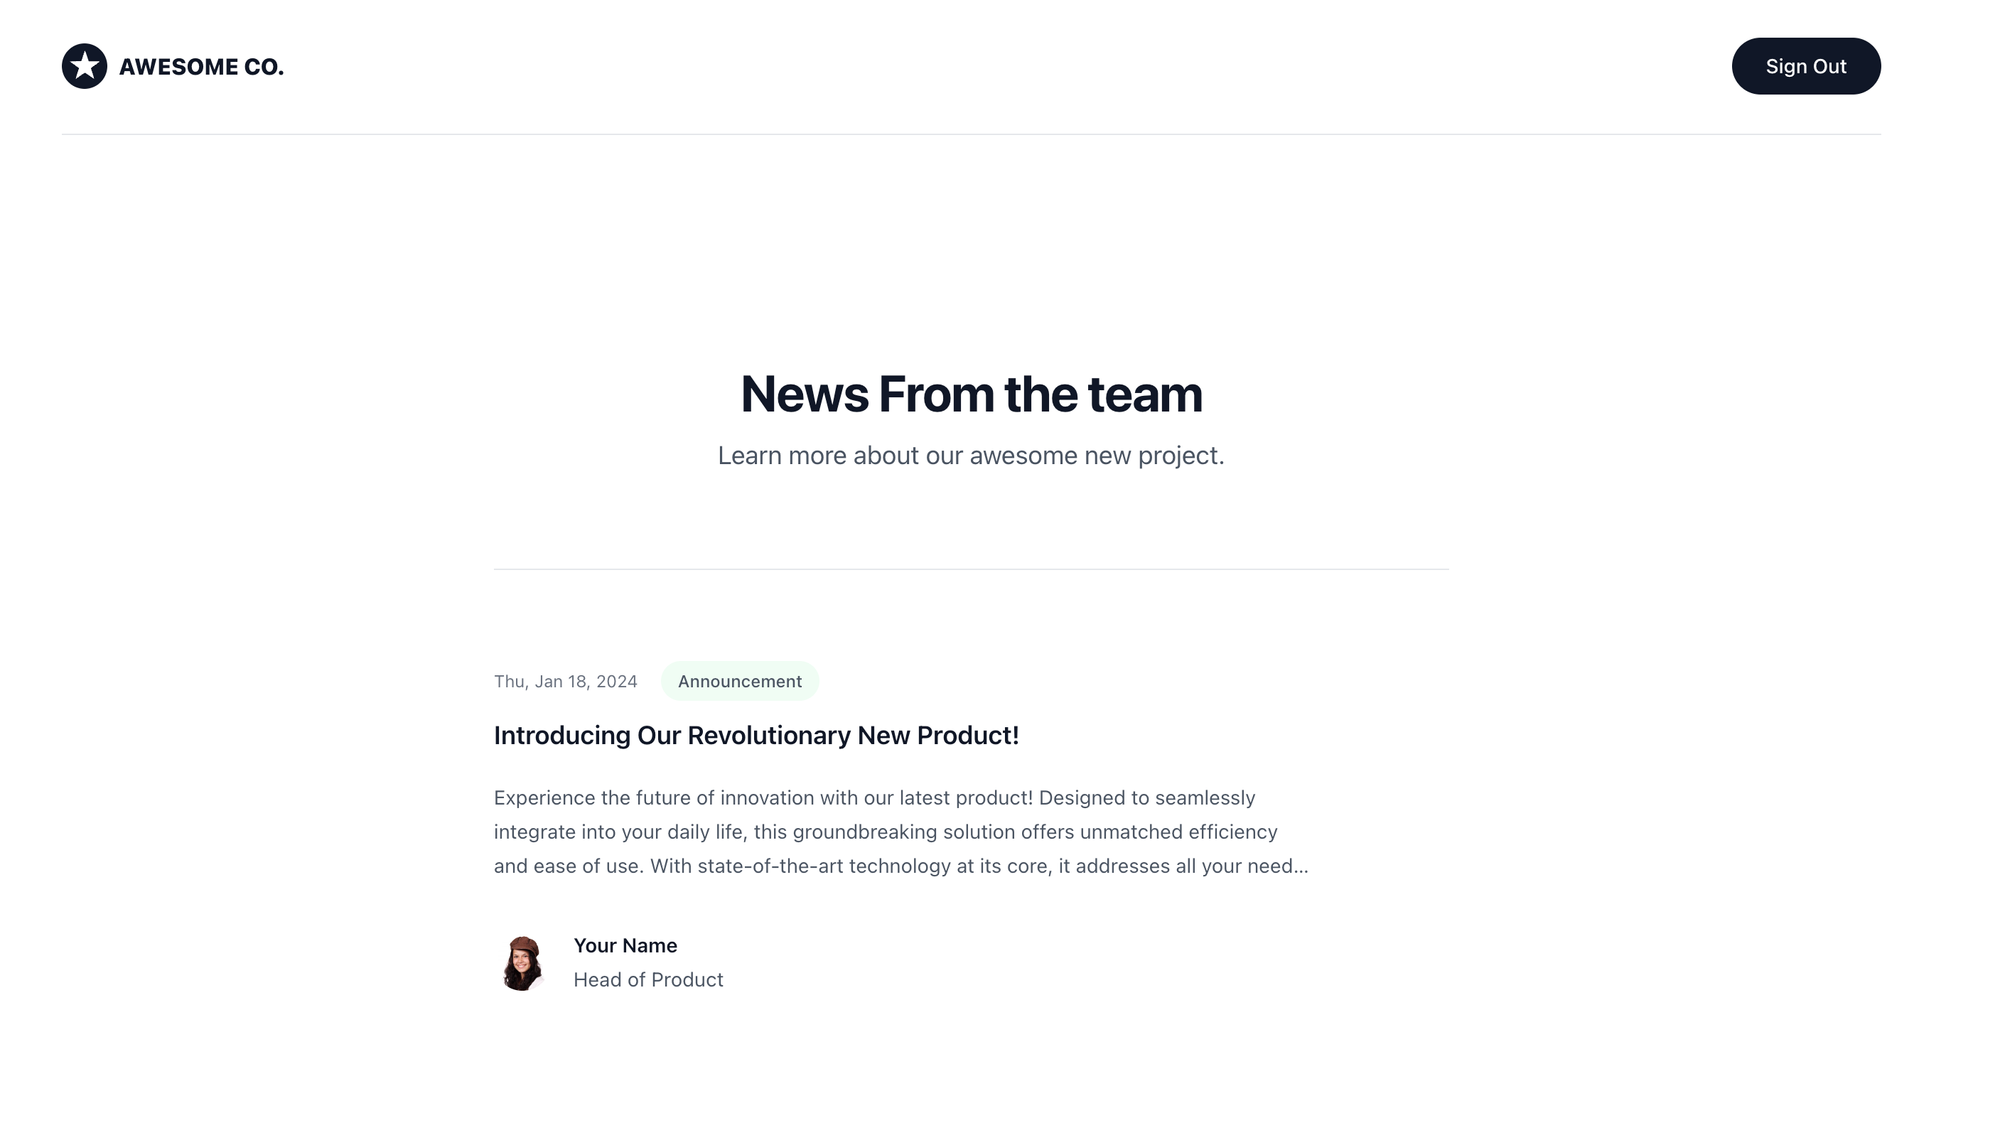
<YOUR_NETLIFY_SITE_URL>/secure/route. - You should be directed to a new page with the heading "News from the Team" and you will see the
product_newsitem that you added on Directus.

How does it all work?
Our Early Access Serverless 11ty website is fairly simple and contains two pages:
- A public Landing Page (./src/_includes/index.liquid)
- A secure Early Access Newsfeed Page (./src/_includes/secure.liquid)
The power of this application lies in the serverless Netlify functions found in devcycle.js and directus.js, and how index.js uses these functions to send user information to Directus (and ultimately to DevCycle) and to limit access to the Early Access Newsfeed page.
./netlify/function/util/devcycle.js
The runDevCycle function is called in the index.js file on each page load. When called, it initializes the DevCycle SDK, creating a user object with the authenticated users GitHub username, then checking to see whether the user should have early access based on the targeting rules set in DevCycle.
// Import the DevCycle server SDK to interact with DevCycle's feature management platform.
const DVC = require("@devcycle/nodejs-server-sdk");

// Initialize a variable to hold the DevCycle client instance. This will be set when the runDevCycle function is called.
let devcycleClient = null;

/**
 * Initializes the DevCycle client and checks if the "early-access" feature is enabled for a given user.
 * @param {Object} authUser - The authenticated user object, expected to contain a login attribute.
 * @returns {Promise<boolean>} - A promise that resolves to the boolean value indicating whether the "early-access" feature is enabled.
 */
async function runDevCycle(authUser) {
  // Initialize the DevCycle client with your server SDK key and configuration options.
  // The SDK key is read from an environment variable for security.
  // enableCloudBucketing and enableEdgeDB are set to true for enhanced feature flag evaluation.
  devcycleClient = DVC.initializeDevCycle(process.env.DEVCYCLE_SERVER_SDK_KEY, {
    enableCloudBucketing: true,
    enableEdgeDB: true,
  });

  // Define a user object for the DevCycle SDK to identify the current user.
  // Here, the user's ID is set to the login attribute of the authUser object.
  const user = {
    user_id: `${authUser.login}`,
  };

  // Retrieve the value of the "early-access" feature flag for the defined user.
  // The third argument (false) is the default value if the flag's value can't be determined.
  const earlyAccess = await devcycleClient.variable(
    user,
    "early-access",
    false
  );

  // Return the actual value of the "early-access" feature flag for the user.
  return earlyAccess.value;
}

// Export the runDevCycle function to make it available for import in other files.
module.exports = { runDevCycle };
./netlify/function/util/directus.js
The sendWebhook function is called in auth-callback (part of the GitHub 0Auth authentication flow) and sends the authenticated users publicly available GitHub user information through to the Directus flow via the Webhook trigger we setup. This (in turn) is the information which we send via the flow to DevCycle's EdgeDB.
The getNews function is called in the index.js file on every page load. This pulls the latest updates from the product_news collection in the Directus instance.
// Import the Axios library for making HTTP requests.
const axios = require("axios");
// Import the EleventyFetch plugin from the Eleventy static site generator.
// This is used for caching and fetching data.
const EleventyFetch = require("@11ty/eleventy-fetch");
// Retrieve the Directus CMS content API endpoint from environment variables.
const directusApiEndpoint = process.env.DIRECTUS_CONTENT_API_ENDPOINT;
// Retrieve the webhook URL from environment variables, used to trigger an external service.
const webhookUrl = process.env.DIRECTUS_TRIGGER_WEBHOOK_ENDPOINT;

/**
 * Sends a webhook request to an external service with the user data.
 * @param {Object} user - The user data to send with the webhook request.
 */
async function sendWebhook(user) {
  try {
    // Use Axios to send a POST request to the webhook URL with the user data.
    const response = await axios.post(webhookUrl, { user });
    console.log("Success sending webhook request:");
  } catch (error) {
    // Log an error message if the request fails.
    console.error("Error sending webhook request:", error);
  }
}

/**
 * Fetches the latest news data from the Directus CMS content API.
 * @returns {Promise<Object>} - The news data as JSON, or an empty object on failure.
 */
async function getNews() {
  let url = directusApiEndpoint; // The URL to fetch news from, using the Directus API endpoint.
  try {
    // Use EleventyFetch to retrieve news data, with caching for 60 seconds.
    // This reduces the number of API requests by storing the results temporarily.
    let response = await EleventyFetch(url, {
      duration: "60s", // Cache the data for 60 seconds.
      type: "json", // Expect the response to be JSON.
      directory: "/tmp/.cache/", // Cache directory path.
    });
    console.log("Success Fetching News!");
    return response; // Return the fetched news data.
  } catch (error) {
    // Log an error message if fetching the news fails and return an empty object.
    console.error("News Fetch error:", error.message);
    return {};
  }
}

// Export the sendWebhook and getNews functions to make them available for import in other files.
module.exports = { sendWebhook, getNews };
./netlify/function/dynamic/index.js
While index.js is also where we define our authentication logic, for the purpose of this post we will focus only on the code related to DevCycle and Directus.
First up (starting on line 31) we call the runDevCycle function which returns the result of whether an authenticated user should have access to gated content (i.e. our Secure page) as either true or false.
...

// Declare a variable to store the early access status.
let earlyAccess;

try {
  // Attempt to run the runDevCycle function with the user object.
  // This function checks if the user is signed up for early access by interacting
  // with the DevCycle feature management platform.
  earlyAccess = await runDevCycle(user);

  // Log the result to the console. If earlyAccess is true, it means the user
  // has access to early features. Otherwise, they do not.
  console.log("Signed up for early access?", earlyAccess);
} catch (e) {
  // If there's an error during the check (e.g., network issues, incorrect setup),
  // log the error message to the console. This helps in diagnosing what went wrong.
  console.log("Early Access Check Error", e);
}

...
Following this (starting on line 48) we call the getNews function updating the Early Access Newsfeed page with the latest content from the Product News collection on Directus.
...

// Declare a variable to hold the fetched news data.
let news;

try {
  // Attempt to fetch news data using the getNews function.
  // This function is designed to retrieve news from a specified source,
  // such as an API endpoint defined in the getNews function.
  // The await keyword is used to wait for the asynchronous operation to complete,
  // meaning the next line of code won't execute until getNews has returned a result.
  news = await getNews();
  // If successful, the news variable will contain the fetched news data.
} catch (e) {
  // If an error occurs during the fetching process, it is caught here.
  // This could be due to network issues, the endpoint not responding,
  // or any other error thrown by the getNews function.
  // The error is logged to the console to help with debugging.
  console.log("Get News Error", e);
}

...
Then comes our gating functionality, which runs if either:
- an unauthenticated user attempts to access the /secure route
- an authenticated user who hasn't requested early access attempts to gain access to the /secure route and page,
....

// Check if the user does not have early access and is trying to access a secure page.
else if (earlyAccess == false && page.data.secure) {
  // Define the URL to redirect users without early access.
  let redirectUrl = "/";
  // Return a response object to redirect the user to the homepage.
  // This uses a 302 status code, which indicates a temporary redirect.
  return {
    statusCode: 302, // HTTP status code for temporary redirect.
    headers: {
      Location: redirectUrl, // URL to redirect the user to.
      // Set a cookie to display a flash message about access restriction.
      // The cookie expires in 300 seconds (5 minutes) and is available site-wide.
      "Set-Cookie": `flashMessage=accessRestricted; Max-Age=300; Path=/;`,
      "Cache-Control": "no-cache", // Ensures the redirect response is not cached by the browser.
    },
    body: "Redirecting...", // Message displayed during the redirection process.
  };
}
// If the user has access or the page is not secure, return the page content.
return {
  statusCode: 200, // HTTP status code for OK.
  headers: {
    "Content-Type": "text/html; charset=UTF-8", // Specify the content type of the response.
  },
  body: page.content, // The HTML content of the page to be displayed.
};


...
In either case, it will redirect them back to the homepage with a flash message that prompts them to signup for early access by clicking the button in the banner. Only if runDevCycle returns true will the user be able to access the secure page.
What's next?
As part of the focus of this tutorial on saving minimal private user information in the early stages of your launch, the Directus flow you created will pass only basic user information to EdgeDB and will save no user information to Directus itself. That said, building a mailing list to contact your future users is a big part of the launch process, so once you are ready to start collecting user information (or if you would like to collect it straight away) you will need to update the flow.
When you’re ready, you can also post your early access site on public project launching platforms such as ProductHunt and Uneed.
References
Much of the serverless structure used in this tutorial comes from the 11ty teams A demo project using OAuth to secure some of your Eleventy Serverless routes.
Got questions?
Feel free to join our Discord Community and ask any questions you may have.

