Recipe for Change: Unlocking Feature Flag Flexibility in a Hyperapp with OpenFeature and the Multi-Provider Utility

Are your feature flags as flexible as they could be? If they are hard-coded static configurations, the answer is likely no. In this guide, we'll explore how OpenFeature can unlock the full potential of feature flags using a fun (although maybe impractical) example—a Recipe Manager app where filters and layouts are controlled entirely by feature flags 🚩.
Leveraging the Hyperapp framework, which powers our Recipe Manager, we'll guide you through improving your feature flag implementation with the OpenFeature standard, demonstrating how these enhancements can streamline upgrading to a new feature flag management solution.
By the end, we hope you'll understand how to manage feature flags effectively and migrate between providers seamlessly.
 jorgebucaran
Basic "Feature Flags"
Before diving into OpenFeature, let's present a basic setup you might see in the wild. In this example, we're using static configurations—hard-coded settings that don't offer the flexibility of true feature flags. We'll be transitioning these to dynamic feature flags as we move through this guide.
Initial Setup
Here's the basic structure of our Recipe Manager app using Hyperapp:
RECIPE-APP/
│
├── node_modules/         # Contains all npm packages
│
├── public/
│   └── index.html        # The main HTML file served by the application
│
├── src/                  # Source files for the application
│   └── index.js          # Entry point of the application, initializes the app
│
├── package-lock.json     # Auto-generated file for locking dependencies versions
├── package.json          # Defines project dependencies and scripts
└── README.md             # Project documentation
To get started with this application, you'll need to install the necessary dependencies. Here's the package.json configuration:
{
  "name": "hyperapp-recipe-migration",
  "version": "0.0.0",
  "dependencies": {
    "@devcycle/openfeature-web-provider": "^0.14.1",
    "@openfeature/multi-provider-web": "^0.0.2",
    "@openfeature/web-sdk": "^1.2.1",
    "hyperapp": "^2.0.22"
  },
  "scripts": {
    "start": "hyperapp-scripts start",
    "build": "hyperapp-scripts build",
    "test": "hyperapp-scripts test"
  },
  "eslintConfig": {
    "extends": "react-app",
    "rules": {
      "react/react-in-jsx-scope": "off",
      "no-unused-vars": [
        "warn",
        {
          "varsIgnorePattern": "^h$"
        }
      ]
    }
  },
  "browserslist": {
    "production": [
      ">0.2%",
      "not dead",
      "not op_mini all"
    ],
    "development": [
      "last 1 chrome version",
      "last 1 firefox version",
      "last 1 safari version"
    ]
  },
  "devDependencies": {
    "hyperapp-scripts": "^0.7.0"
  }
}
After setting up the project and installing dependencies, add some basic structure to the index.html:
<!DOCTYPE html>
<html lang="en">
  <head>
    <meta charset="utf-8"/>
    <meta name="viewport" content="width=device-width, initial-scale=1"/>
    <script src="https://cdn.tailwindcss.com"></script>
    <script>
      tailwind.config = {
        darkMode: 'selector'
      }
    </script>
    <title>Hyperapp Recipe Manager </title>
  </head>
  <body>
    <div id="app"></div>
  </body>
</html>
With this complete, head over to index.js, where the actual Hyperapp magic will happen. You'll define your feature flags and apply them to the application logic:
import { app } from "hyperapp";

// Basic "Feature Flags" (aka Static Configs)
const featureFlags = {
  dark_mode: true, // boolean
  app_language: "en", // string
  max_recipes: 3, // number
  recipe_layout: { // JSON
    layout: "one-column",
    showIngredients: true,
    showInstructions: true
  }
};

// Apply dark mode based on the feature flag
if (featureFlags.dark_mode) {
  document.body.classList.add("dark");
}

// Sample recipes in English and French
const recipes = [
  {
    id: 1,
    name: {
      en: "Tacos",
      fr: "Tacos"
    },
    ingredients: {
      en: "Taco shells, Ground beef, Cheese",
      fr: "Coques de tacos, Bœuf haché, Fromage"
    },
    instructions: {
      en: "Cook ground beef, add to shells, and top with cheese.",
      fr: "Cuire le bœuf haché, ajouter dans les coques, et garnir de fromage."
    }
  },
  {
    id: 2,
    name: {
      en: "Burgers",
      fr: "Burgers"
    },
    ingredients: {
      en: "Buns, Ground beef, Lettuce",
      fr: "Pains, Bœuf haché, Laitue"
    },
    instructions: {
      en: "Cook ground beef, add to buns with lettuce.",
      fr: "Cuire le bœuf haché, ajouter aux pains avec de la laitue."
    }
  },
  {
    id: 3,
    name: {
      en: "Pizza",
      fr: "Pizza"
    },
    ingredients: {
      en: "Dough, Tomato sauce, Cheese",
      fr: "Pâte, Sauce tomate, Fromage"
    },
    instructions: {
      en: "Spread sauce on dough, top with cheese, and bake.",
      fr: "Étaler la sauce sur la pâte, garnir de fromage, et cuire au four."
    }
  }
];

const RecipeItem = ({ recipe, flags }) => (
  <div class="p-4 mb-4 bg-gray-100 rounded shadow-md">
    <h2 class="text-xl font-semibold">{recipe.name[flags.app_language]}</h2>
    {flags.recipe_layout.showIngredients && (
      <p class="mt-2">
        <strong>Ingredients:</strong> {recipe.ingredients[flags.app_language]}
      </p>
    )}
    {flags.recipe_layout.showInstructions && (
      <p class="mt-2">
        <strong>Instructions:</strong> {recipe.instructions[flags.app_language]}
      </p>
    )}
  </div>
);

const RecipeList = ({ flags }) => {
  const filteredRecipes = recipes.slice(0, flags.max_recipes);
  return (
    <div class={`grid ${flags.recipe_layout.layout === "two-column" ? "grid-cols-2 gap-4" : "grid-cols-1"}`}>
      {filteredRecipes.map(recipe => (
        <RecipeItem recipe={recipe} flags={flags} />
      ))}
    </div>
  );
};

const mainView = state => (
  <div class={`min-h-screen p-4 ${state.flags.dark_mode ? "dark" : ""}`}>
    <h1 class="text-3xl font-bold mb-4">Recipe Manager</h1>
    <RecipeList flags={state.flags} />
  </div>
);

app({
  init: { flags: featureFlags },
  view: mainView,
  node: document.getElementById("app")
});
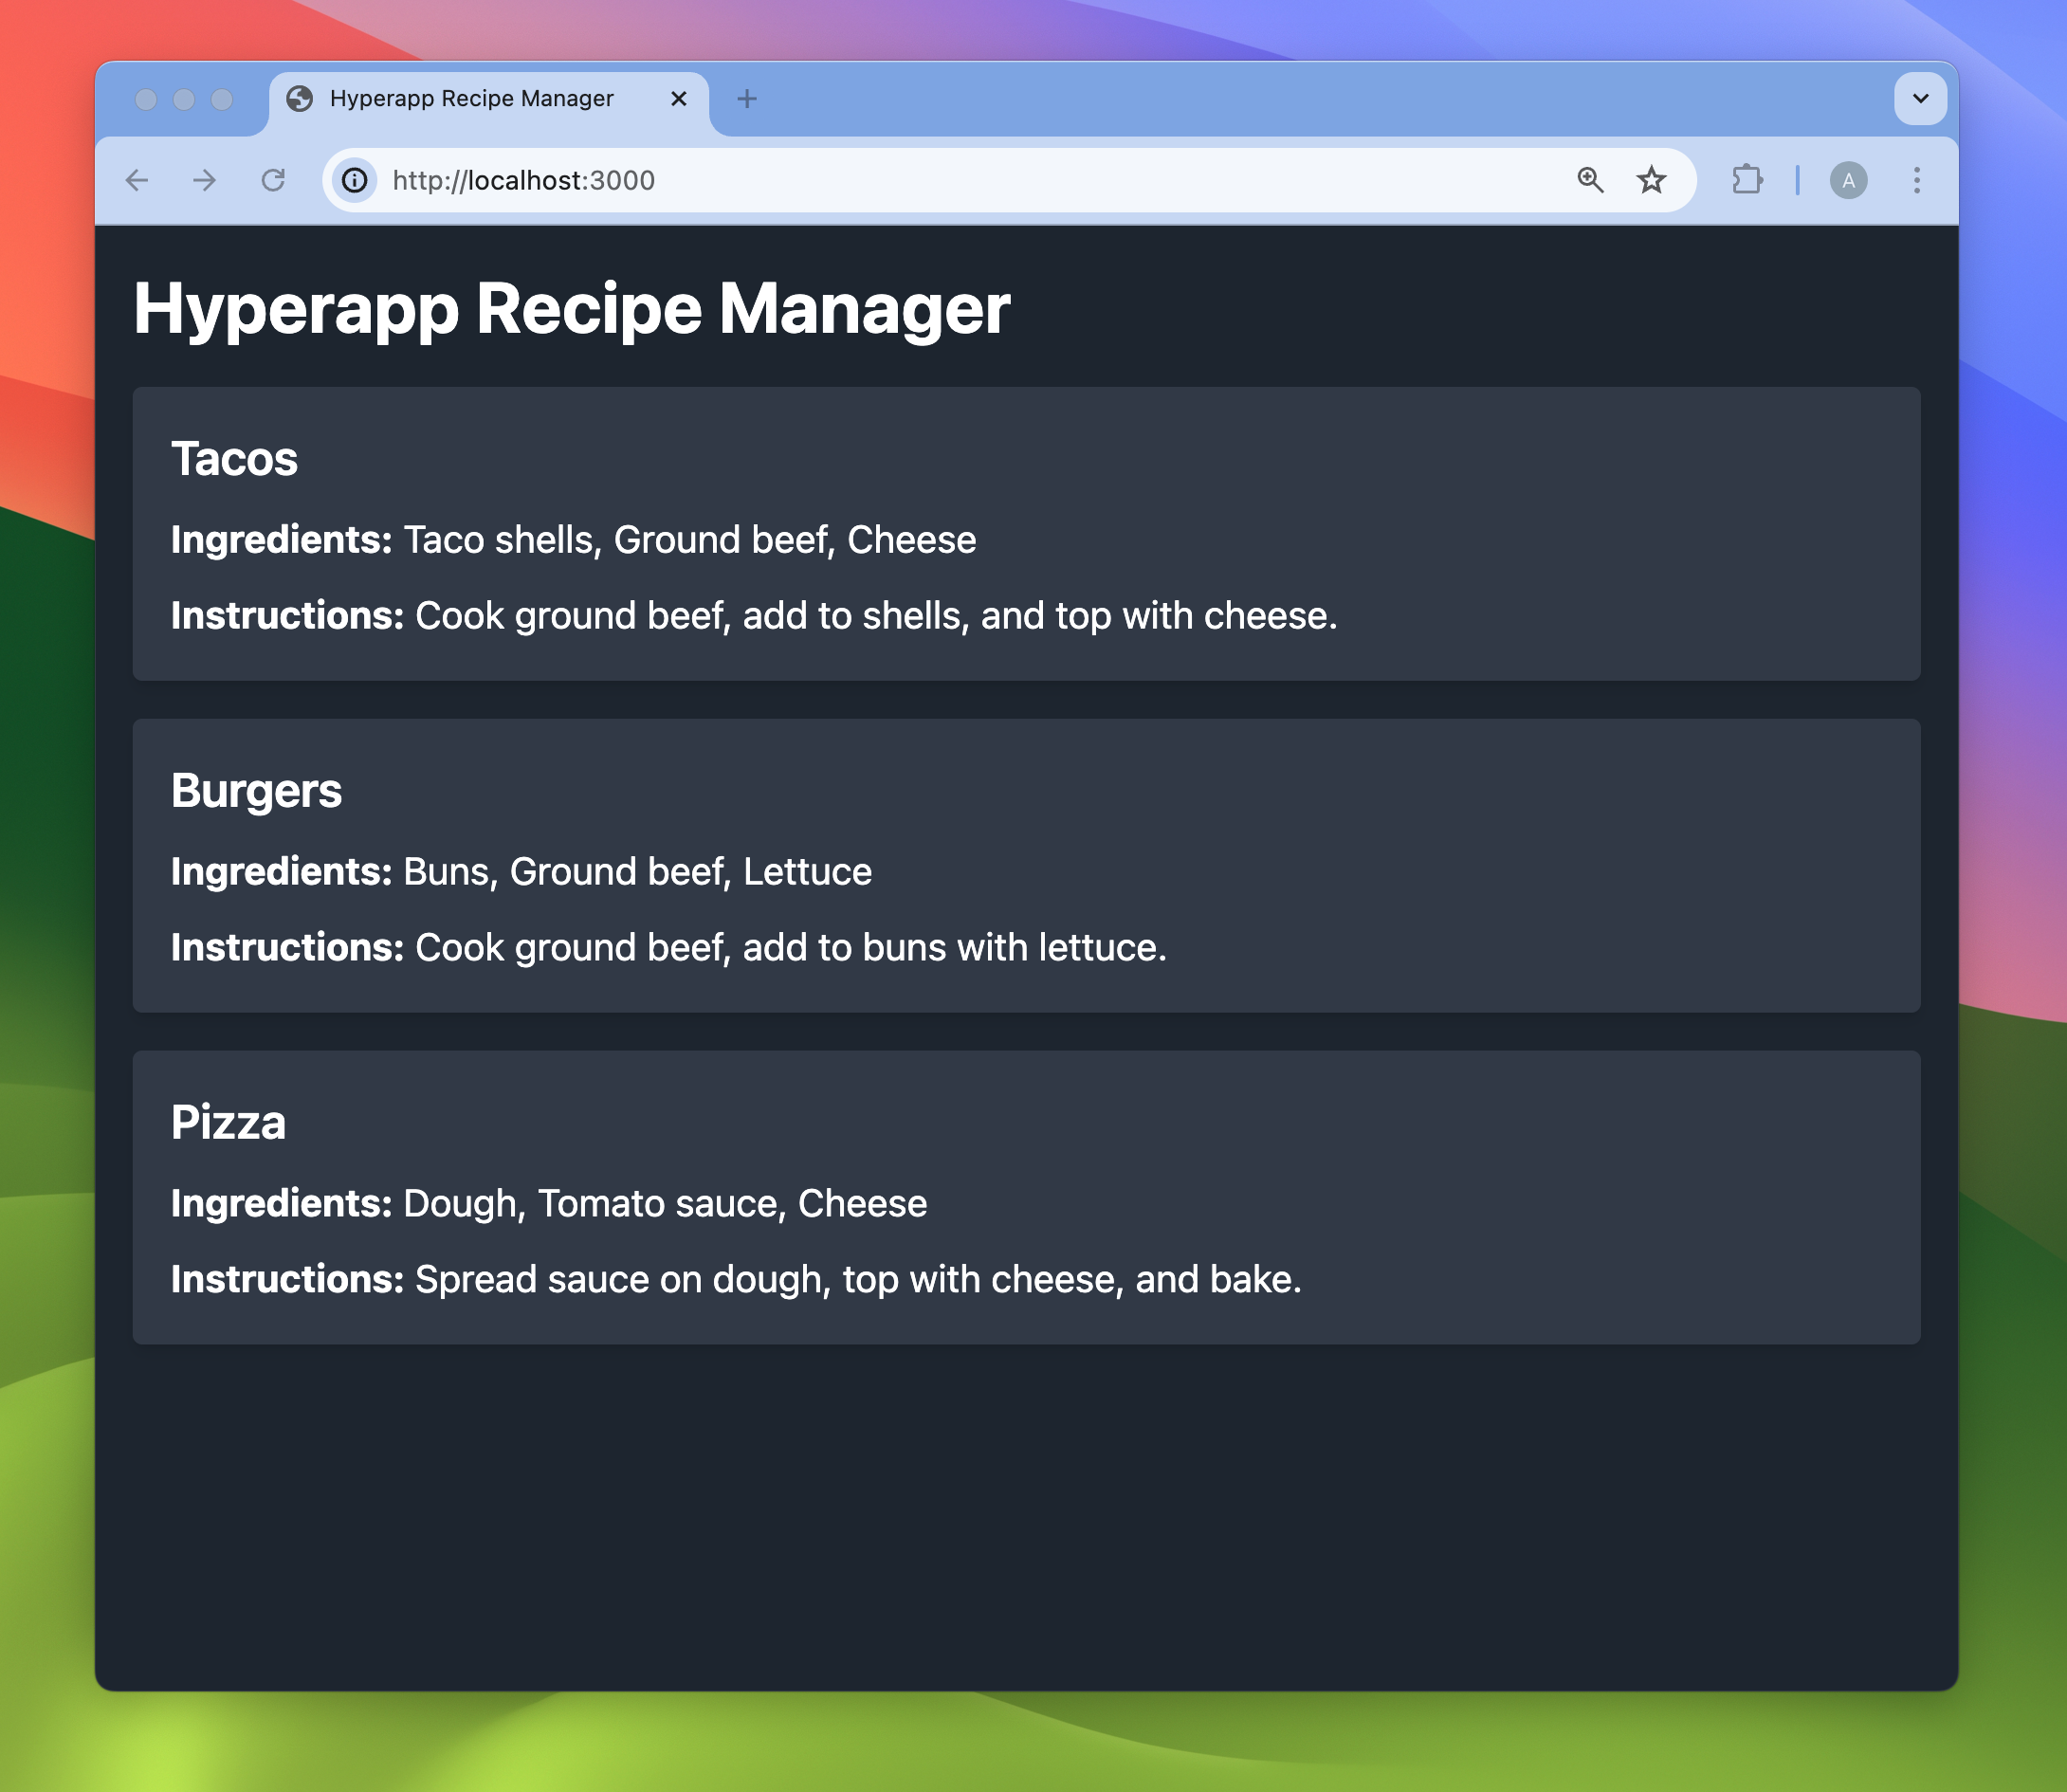
Now, head to your terminal and start the application by running:
npm startIf everything is running correctly, you should see something like this:
Transition to OpenFeature
OpenFeature provides a standardized way to manage feature flags, making it easier to handle different evaluation logic and management systems. Getting your flags to follow the OpenFeature standard is the first step in the enhancement process. For our Recipe Manager app, we'll start by converting our static configs to the required format which can be ingested by the OpenFeature API.

OpenFeature Configuration
First, we'll define our feature flags in the OpenFeature format:
const FLAG_CONFIGURATION = {
  'dark-mode': {
    variants: {
      on: true,
      off: false
    },
    disabled: false,
    defaultVariant: 'on'
  },
  'app-language': {
    variants: {
      en: 'en',
      fr: 'fr'
    },
    disabled: false,
    defaultVariant: 'en'
  },
  'max-recipes': {
    variants: {
      one: 1,
      three: 3
    },
    disabled: false,
    defaultVariant: 'three'
  },
  'recipe-layout': {
    variants: {
     'one-column': {
        layout: 'one-column',
        showIngredients: true,
        showInstructions: true
      },
      'two-column': {
        layout: 'two-column',
        showIngredients: true,
        showInstructions: false
      },
    },
    disabled: false,
    defaultVariant: 'one-column'
  },
};
Update the Application
Next, we'll update the application to use these OpenFeature-compliant flags. This involves a few steps:
- Install the OpenFeature Web SDK:
npm install --save @openfeature/web-sdk - Apply the newly created flag format to an In-memory Provider and set that provider for our OpenFeature client.
- This is provider is primarily used for testing but for our case it will serve as an example of an "in-house" feature flag management system.
- Assign an evaluation context against which the flags will be evaluated. In our case, this will be the
user_id.
Below you can see what all of this looks like in context.
import { app } from "hyperapp";
+ import { InMemoryProvider, OpenFeature } from "@openfeature/web-sdk";

- // Basic Feature Flags
-    const featureFlags = {
-      dark_mode: true, // boolean
-      app_language: "en", // string
-      max_recipes: 5, // number
-      recipe_layout: { // JSON
-        layout: "two-column",
-        showIngredients: true,
-        showInstructions: true
-      },
-    };

+ // OpenFeature Compliant Feature Flags
+
+ // Configure InMemory Provider
+ const FLAG_CONFIGURATION = {
+  // Configuration format as indicated above
+  // ...
+ };
+ const inMemoryProvider = new InMemoryProvider(FLAG_CONFIGURATION);
+ await OpenFeature.setProviderAndWait(inMemoryProvider);
+
+ // Add Evaluation Context
+ const user = { user_id: "my_user" };
+ OpenFeature.setContext(user);
+
+ // Instantiate a new OpenFeature Client
+ const client = OpenFeature.getClient();
+
+ // Use OpenFeature API to Evaluate Feature Flags
+ const featureFlags = {
+  dark_mode: client.getBooleanValue("dark-mode", false),
+  app_language: client.getStringValue("app-language", "en"),
+  max_recipes: client.getNumberValue("max-recipes", 3),
+  recipe_layout: client.getObjectValue("recipe-layout", {
+    layout: "one-column",
+    showIngredients: false,
+    showInstructions: false,
+  }),
+ };

// Rest of the code remains unchanged
// ...
With this setup, our Recipe Manager app now implements the OpenFeature standard for managing feature flags. This provides a more scalable and maintainable solution and allows us to access the Universal API.
Configuring Multi-Provider Utility
With OpenFeature, switching feature flag management systems (or switching between static configs and dynamic feature flags) is simply a case of changing the Providers. In many cases, to do this requires only a few lines of code to be changed. The most crucial change is to set the Provider using:
await OpenFeature.setProviderAndWait(<YOUR PROVIDER>);While this approach works for basic cases, the new Multi-Provider utility extends this capability, allowing more seamless provider migrations with little-to-no downtime. It also supports special use cases, such as long-term support for multiple feature flag sources. This ensures that your application can handle transitions and maintain compatibility with various feature flag providers efficiently.
Multi-Provider Setup
Similar to before, there are a few steps needed to use the Multi-Provider:
- Install the DevCycle JavaScript SDK and OpenFeature Web Provider alongside the OpenFeature Web Multi-Provider.
npm install --save @devcycle/openfeature-web-provider && npm install @openfeature/multi-provider-web- Instantiate a DevCycle Provider and a new Multi-Provider instance.
import { app } from "hyperapp";
import { InMemoryProvider, OpenFeature } from "@openfeature/web-sdk";
+ import DevCycleProvider from "@devcycle/openfeature-web-provider";
+ import { WebMultiProvider } from "@openfeature/multi-provider-web";

const FLAG_CONFIGURATION = {
  // Configuration format remains the same as above
  // ...
};

const inMemoryProvider = new InMemoryProvider(FLAG_CONFIGURATION);

+ const devcycleProvider = new DevCycleProvider(
+    "dvc_client_key"
+ );
+
+ // Multi-provider Setup
+ const multiProvider = new WebMultiProvider([
+  { provider: devcycleProvider },
+  { provider: inMemoryProvider },
+ ]);

- await OpenFeature.setProviderAndWait(inMemoryProvider);
+ await OpenFeature.setProviderAndWait(multiProvider);

// Rest of the code remains unchanged
// ...
By following these steps, you've now implemented a full feature flag management system (i.e. DevCycle) and through the Multi-provider enabled your application to switch seamlessly between the hard-coded, static configs and the dynamic DevCycle feature flags.
To make this process so seamless, behind the scenes the Multi-provider is using a default FirstMatchStrategy evaluating providers in order, moving on to the next provider only if the current provider returns a FLAG_NOT_FOUND result. If an error is thrown by any provider, the Multi-Provider will throw that error. The OpenFeature SDK will then catch the error and return the default value.
While the default strategy is generally recommended for vendor migration, a special DevCycleMigrationStrategy has been created specifically for migrating to DevCycle. This strategy extends FirstMatchStrategy to accommodate DevCycle's implementation by returning DEFAULT for "flag not found" cases.
import { app } from "hyperapp";
import { InMemoryProvider, OpenFeature } from "@openfeature/web-sdk";
import DevCycleProvider from "@devcycle/openfeature-web-provider";
import { WebMultiProvider } from "@openfeature/multi-provider-web";
+ import { DevCycleMigrationStrategy } from "@devcycle/openfeature-web-provider/strategy";

const FLAG_CONFIGURATION = {
  // Configuration format remains the same as above
  // ...
};

const inMemoryProvider = new InMemoryProvider(FLAG_CONFIGURATION);

const devcycleProvider = new DevCycleProvider(
  "dvc_client_key"
);

// Multi-provider Setup
const multiProvider = new WebMultiProvider(
  [
    { provider: devcycleProvider },
    { provider: inMemoryProvider },
  ],
+  new DevCycleMigrationStrategy()
);

await OpenFeature.setProviderAndWait(multiProvider);

// Rest of the code remains unchanged
// ...
DEFAULT for known keys.Next Steps for Your Recipe App Migration
With the new strategy in place, your Recipe app codebase is ready for migration, but there are a few additional steps to complete:
- Port Your Data: Transfer the existing flagging data to DevCycle. This means moving flag definitions, user targeting rules, and any associated metadata. You can do this gradually by creating new flags in DevCycle while keeping the old ones until they are no longer needed. This is also a great chance to clean up outdated flags.
- Establish a Migration Timeline: Create a detailed timeline for the migration. Prioritize critical flags first and schedule less critical ones for later.
- Implement Monitoring and Logging: Set up monitoring and logging to track the performance and accuracy of flag evaluations. This will help identify and resolve any issues during the migration.
- Test and Validate: Before fully transitioning to DevCycle, conduct thorough testing to ensure:
- Flag evaluations return expected results.
- Performance is not negatively impacted.
- There are no regressions in existing functionality.
By following these steps, you can ensure a smooth transition to DevCycle and take full advantage of its powerful feature management capabilities.
Try It Yourself!
Ready to see it in action? Visit our GitHub repository and try migrating feature flags for yourself. Follow the instructions in the README to set up the Recipe Manager app and experiment with different feature flag configurations.
DevCycleHQ-Sandbox